What you need before you start
Almost nothing. You can wander round the whole thing as a guest — it only asks who you are at the two points where it has to.
| What you're doing | Account? | Why |
|---|---|---|
| Browsing the styles | No | Nothing stored, nothing spent |
| Writing the brief | No | Still just a form |
| Picking reactions | No | Still just a form |
| Attaching a photo | Sign in | It means keeping your file |
| Pressing generate | Sign in | It spends credits |
| Downloading | No extra step | You're already signed in by then |
Sign-in is Twitch, Discord or Google. It happens in a panel over the studio, so you land back exactly where you were.
Your credit balance sits in the top bar. The button always shows what a run costs before you press it.
Pick a style, or start blank
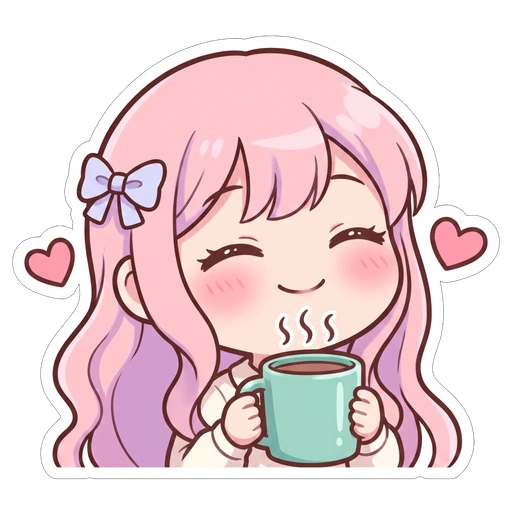
The start screen opens on a gallery. Every card is six real emotes of one character — that's the promise, not an impression of it.
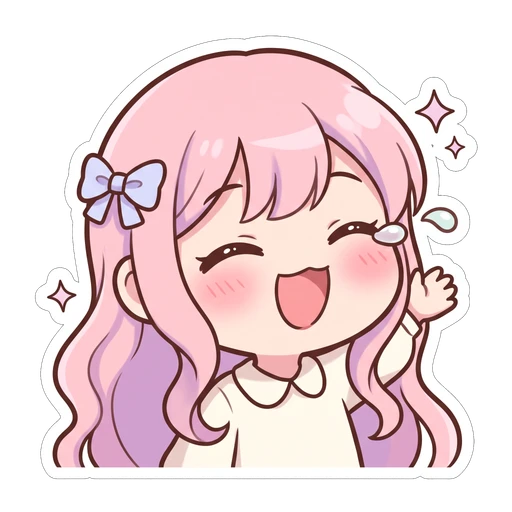
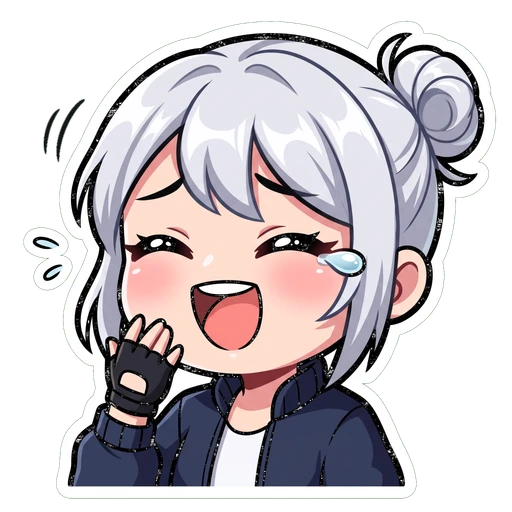
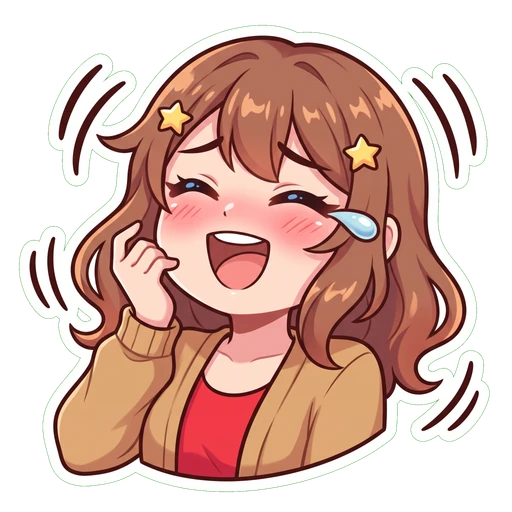
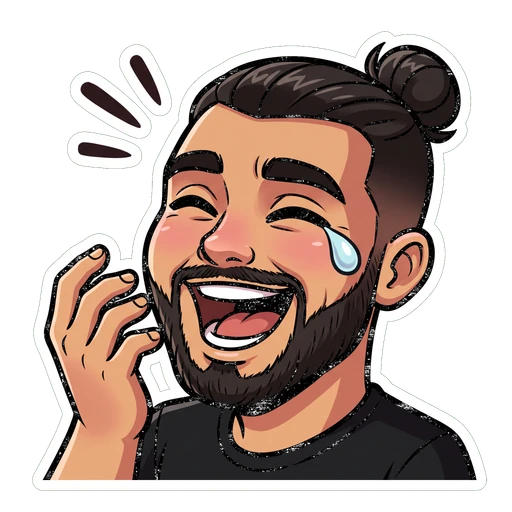
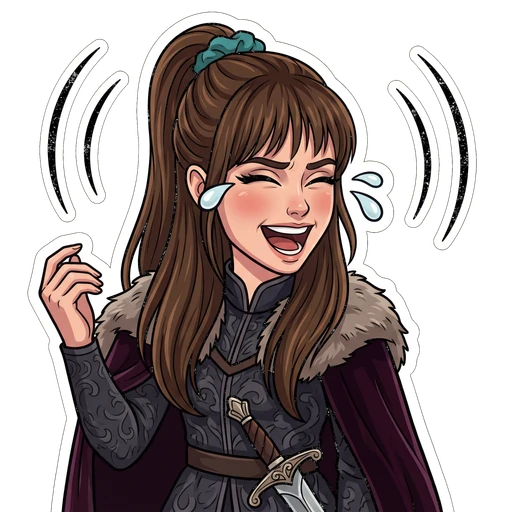
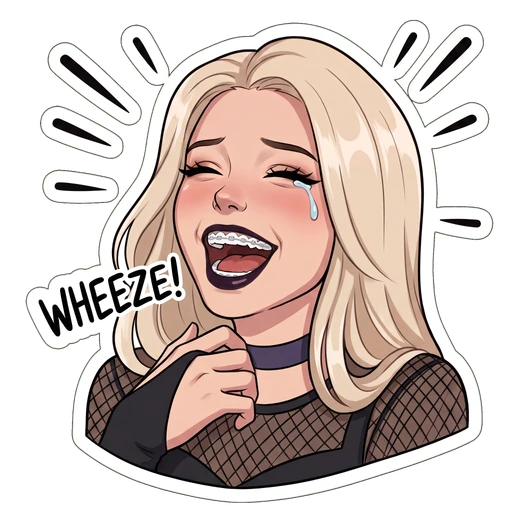
All 7, plus a blank tile if you'd rather describe the look yourself.
Picking one does two things. The second is the one people miss.
- It fills in the description box.The next screen is never an empty prompt. Rewrite it freely — it's a starting point, not a setting.
- It attaches the style's own artwork as a reference. A style that gets showntransfers far better than a style that gets described. This is why a template usually beats typing "chunky mascot style" yourself.
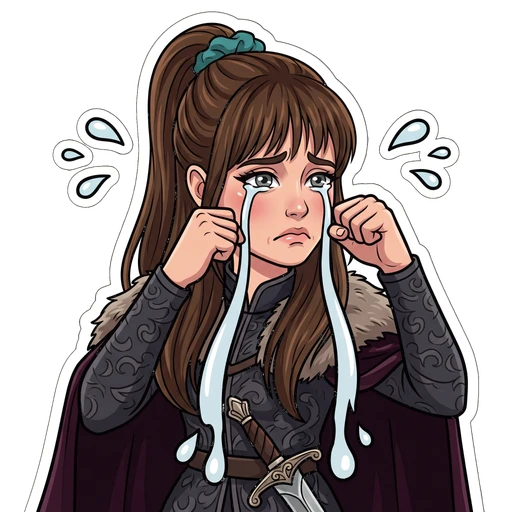
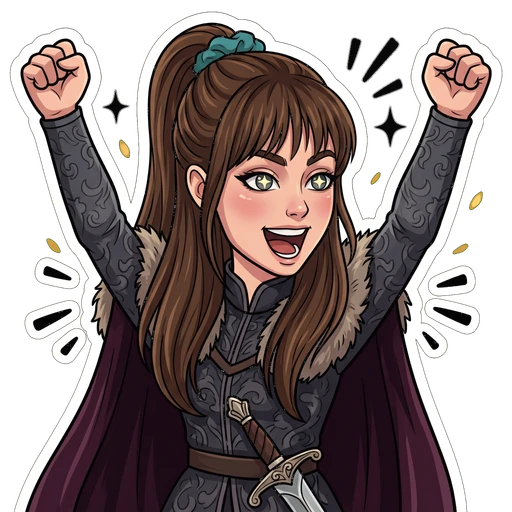
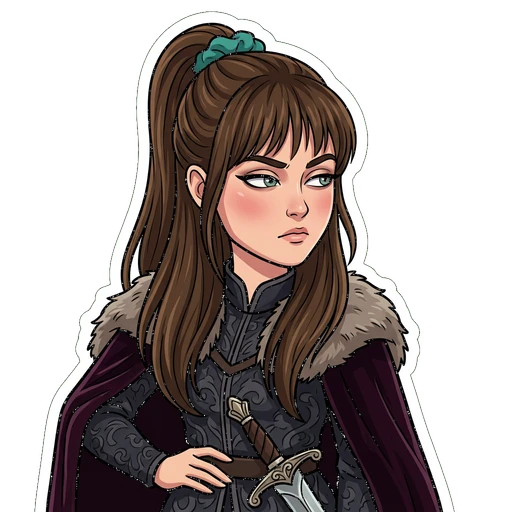
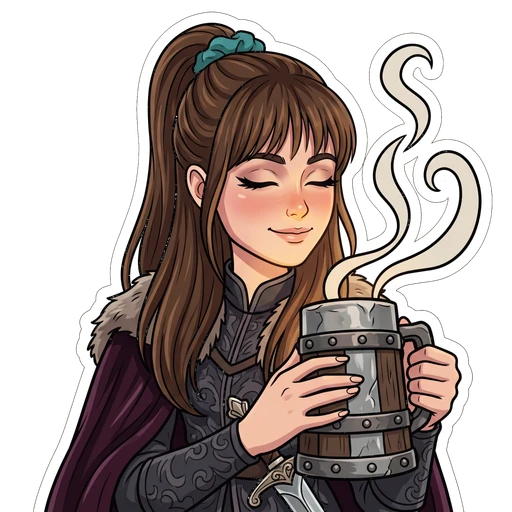
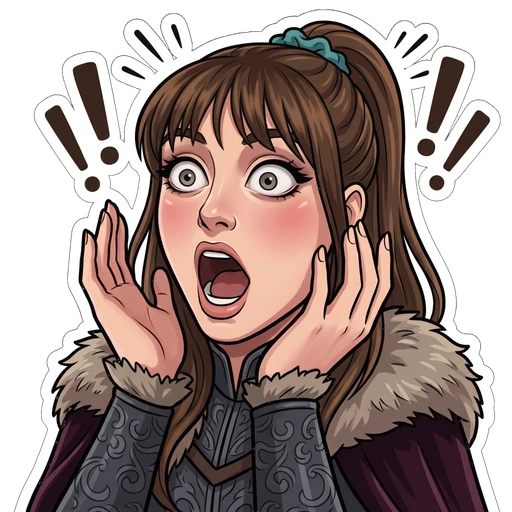
You're not locked in.The style strip reappears in the left-hand panel, so you can switch any time before you press generate. Switching won't overwrite a description you've written.
Every "try this style" button is also just a URL, so a link straight into Pastel Chibi is something you can bookmark or send to someone.
Write the brief
Three panels down the left-hand panel: who it is, what it looks like, which moments you want. Results fill the middle. Chat preview sits on the right the whole time.
Your brief
 1 reference photo attached
Your set
cut out · every size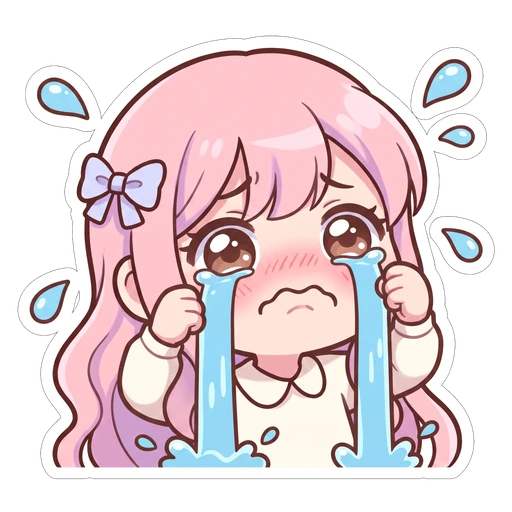
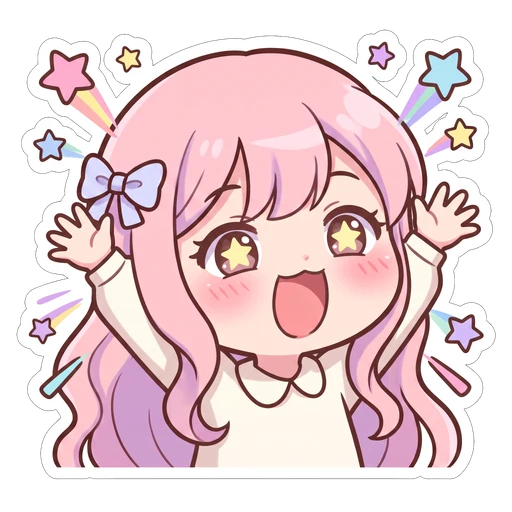
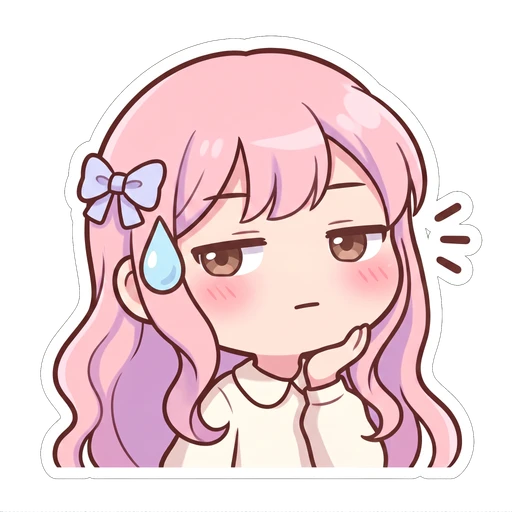
The description box decides more than anything else on the page. Specific beats long.
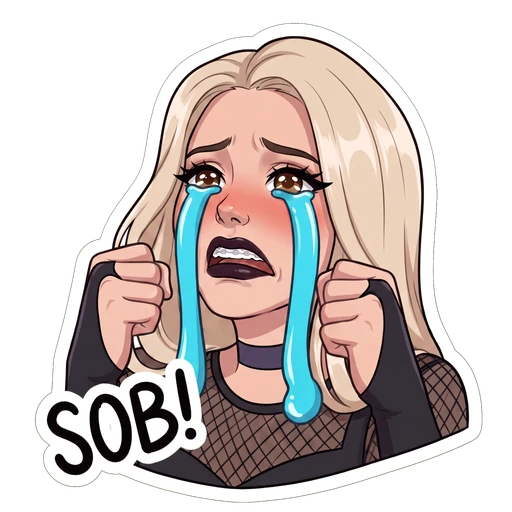
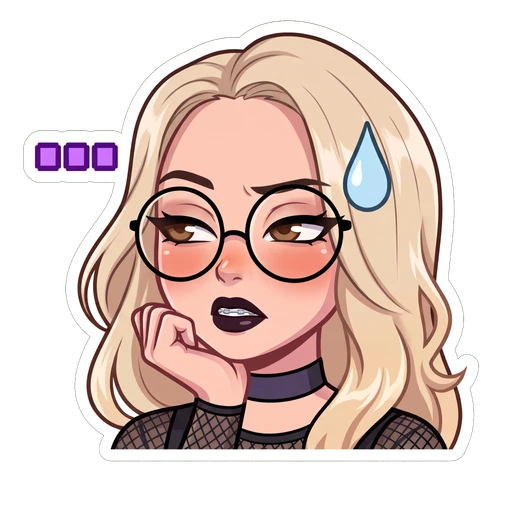
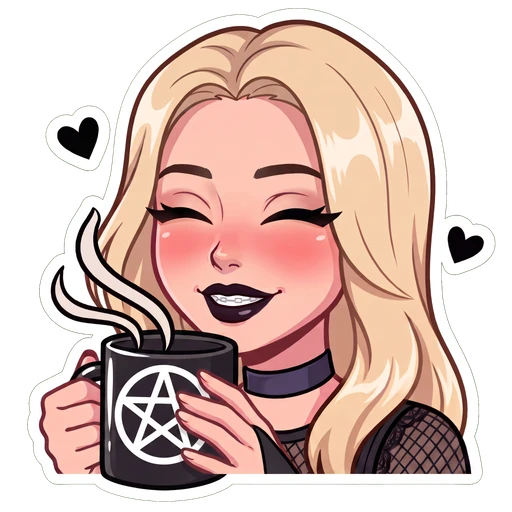
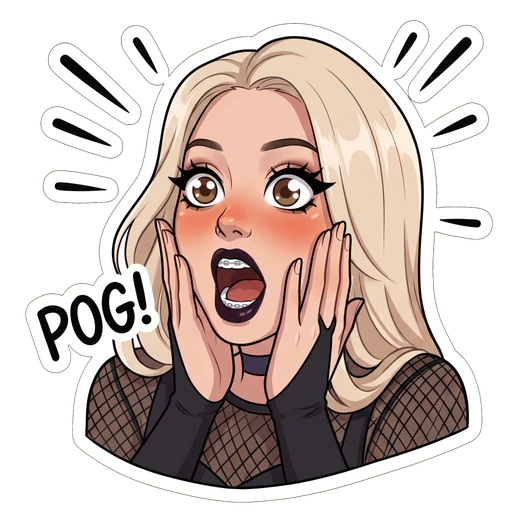
a blonde streamer with heavy winged eyeliner, dark lipstick, a choker and a fishnet top
No backstory. No mood. No art direction. Just the things a stranger would use to pick her out of a crowd.

- Hair colour and length, eye colour
- Glasses, facial hair, a piercing
- The one thing you always wear on stream
- One trait: permanently overexcited, permanently unimpressed
- A paragraph of backstory nobody can draw
- Six different characters in one brief
- A named character from a game, anime or film
- The reaction itself — that's what the buttons underneath are for
Under the description sit the reactions. Ten to choose from, six ticked. Each one is a credit, and the button keeps a running total.
3 · Reactions
6 pickedPick the moments your chat already spams.
Each chip carries a written performance behind it, not just the word. "cry" asks for huge glossy eyes and fat cartoon tears, because a bare label comes back as a generic frown.
Reference photos, if you want a likeness
Optional. Skip it for a mascot or a persona. If you want the set to look like an actual person, this is the only way there — and it's the step people rush.
Photos worth working from
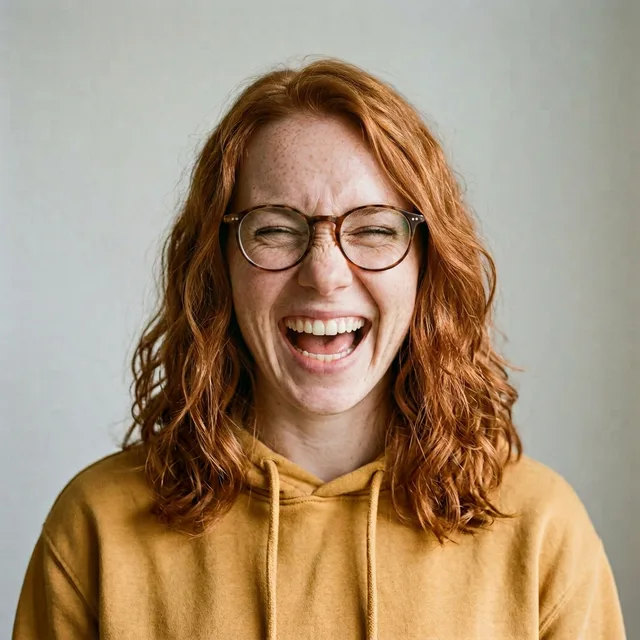
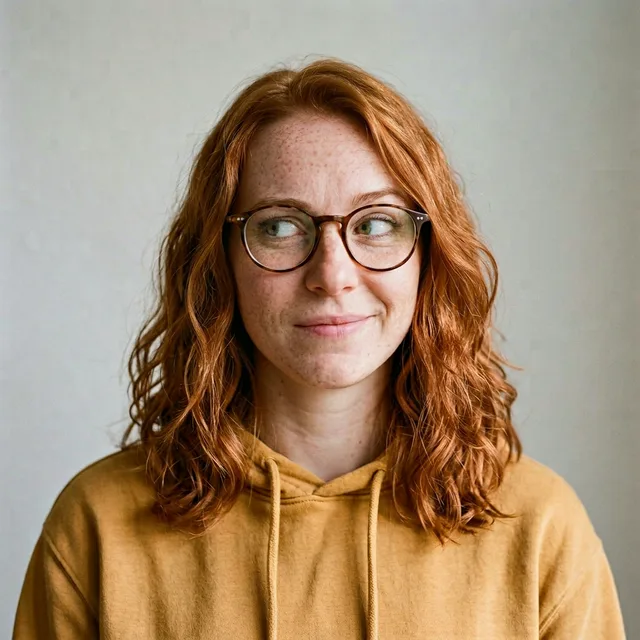
- ✓Both sides of the face lit, nothing in shadow.
- ✓One big, unambiguous emotion to build the set around.
- ✓A three-quarter turn shows the face's actual shape, not just its front.
Photos nobody can use
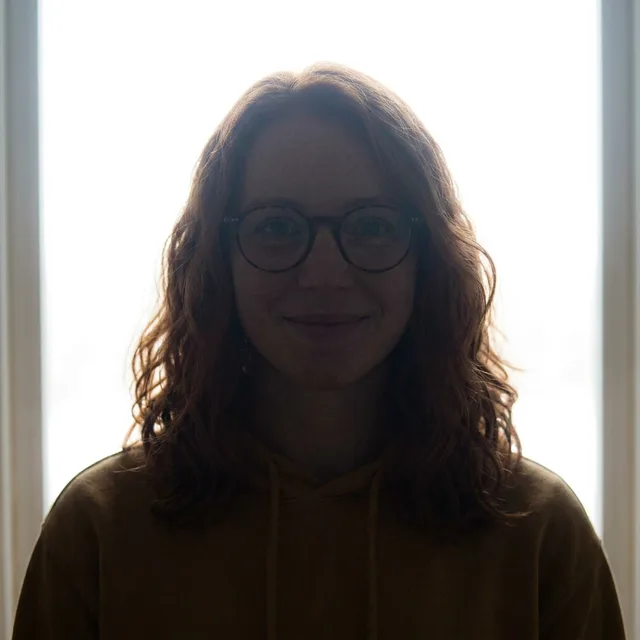
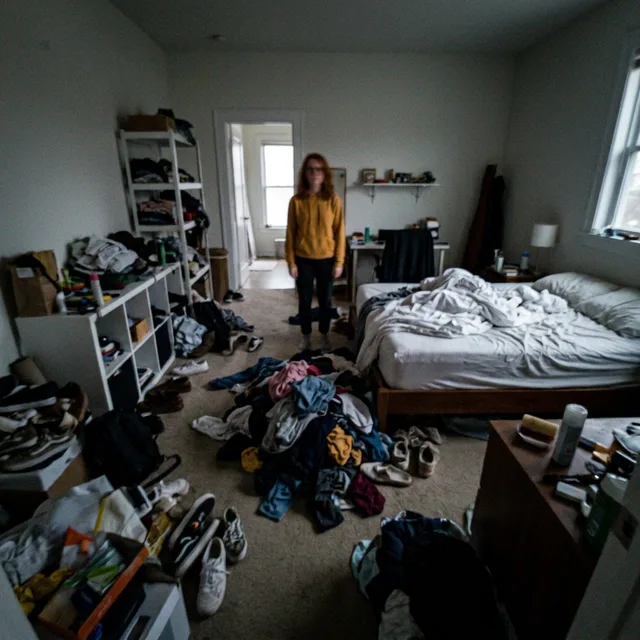
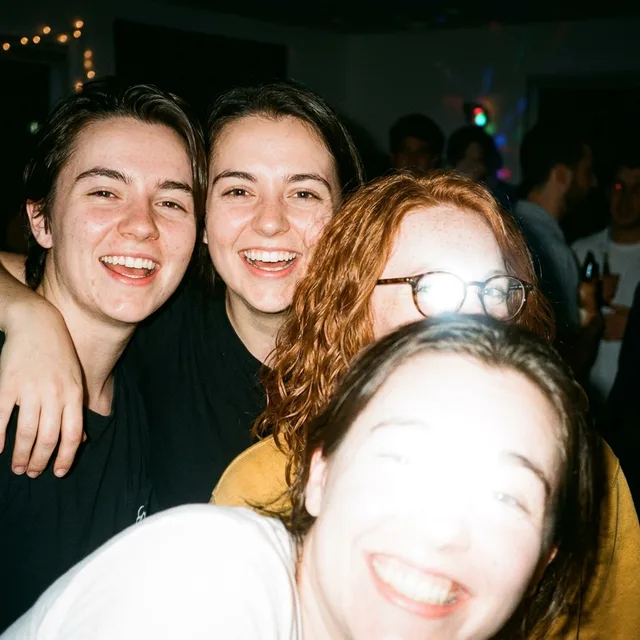
- ✕The face is just a dark shape. There's nothing there to copy.
- ✕Your head is forty pixels wide and blurred. Detail that isn't in the photo can't come out of it.
- ✕Four faces, a flash on the glasses — nothing says which person is you.
Detail that isn't in the photo can't appear in the emote.A backlit selfie is just a dark shape. There's nothing in it to copy.
Drop up to four images on the panel in the left-hand panel, or press "add". PNG, JPG and WebP. This is one of the two moments it asks you to sign in first.
| Image | Job | Effect |
|---|---|---|
| Your photo | Who the character is | Face, hair and features are copied |
| The style's art | How it's drawn | Line quality, shading and finish are copied |
| Your written brief | Extra colour | Drops to a supporting role once a photo is in |
The two kinds get labelled separately behind the scenes, so the look comes off one and the person off the other.
Attach your own photo and the style samples drop to one. Every extra sample is another face competing to be the subject.
Press generate
Three are drawn at a time, each landing in the grid as it finishes. Six reactions is usually a couple of minutes.
Waiting for a slot. Three run at once.
Being drawn right now.
The green background comes off.
Landed. Buttons show on hover.
Why there's a "cutting out" step. Every emote gets drawn on a flat green background first, a bit like a weather forecast. Then the green is taken away.
That happens on your own computer, in the couple of seconds before the emote appears. It's why what lands is a clean cut-out rather than a picture in a green square.
- A bar counts them off: "Peeling backgrounds — 3 of 6 ready", with a "stop" on the right if you want out.
- Credits come off up front, so the balance reacts straight away.
- Anything that fails to produce an emote is refunded.
- A stuck item gives up after about three minutes rather than hanging forever.
Every run adds
This is the one people expect to work the other way. Nothing here replaces a finished emote. Your set only shrinks when you delete something.
Your set
4 emotes · one reaction with two takes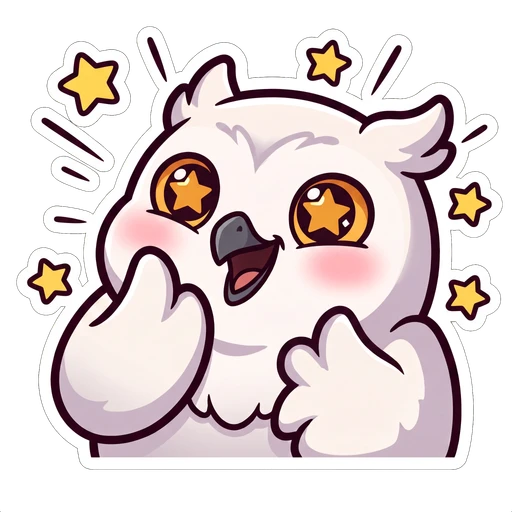
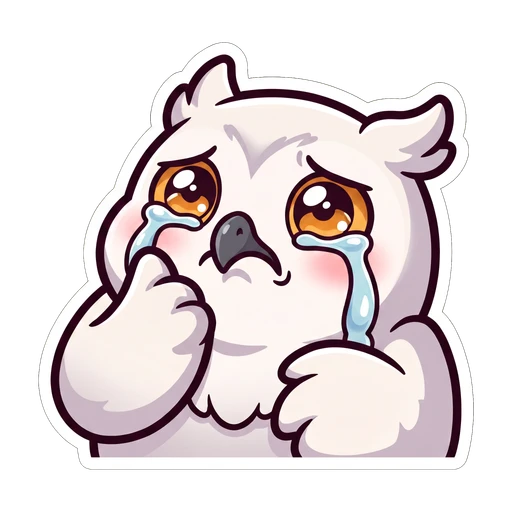
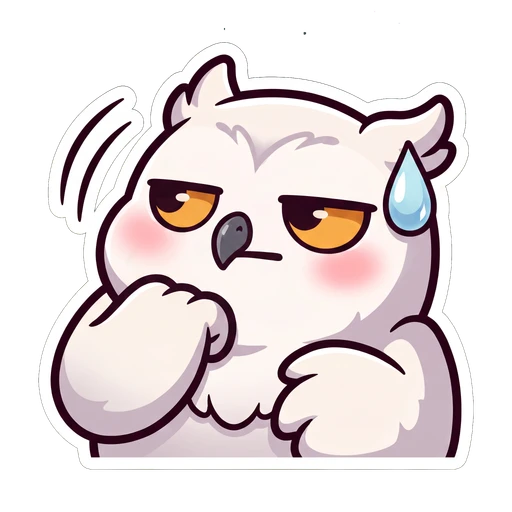
The second wheeze arrived beside the first, not on top of it. The cross is how you pick a winner.
So the loop is simple: make more, then cut back. Three controls do all of it.
- "another" — hover a tile, press it, get a fresh take on that one reaction. One credit. It lands beside the original.
- generate again— a second full run adds a whole second helping. Useful after you've rewritten the description and want an honest comparison.
- the cross— top-right of a tile on hover. Asks "delete this?" with delete and keep, so it's never a mis-click on the download button next door.
Once a reaction has several takes, the tiles number themselves — wheeze #1, wheeze #2. The zip does the same with filenames.
Deciding which one to keep is the whole skill. Here's what a keeper looks like at the size that matters:
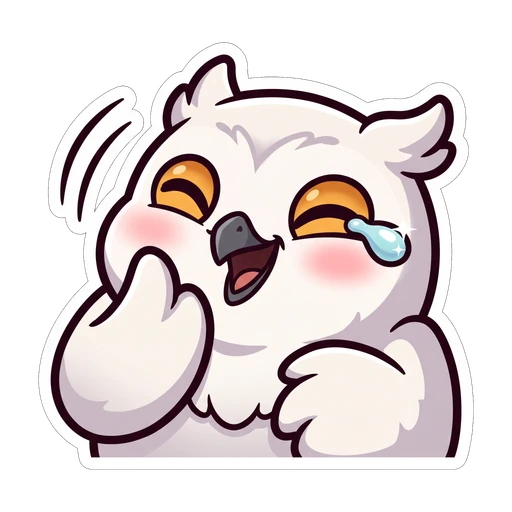
Chunky shape, strong light and dark, one clear expression. Still an owl yelling at 28px.
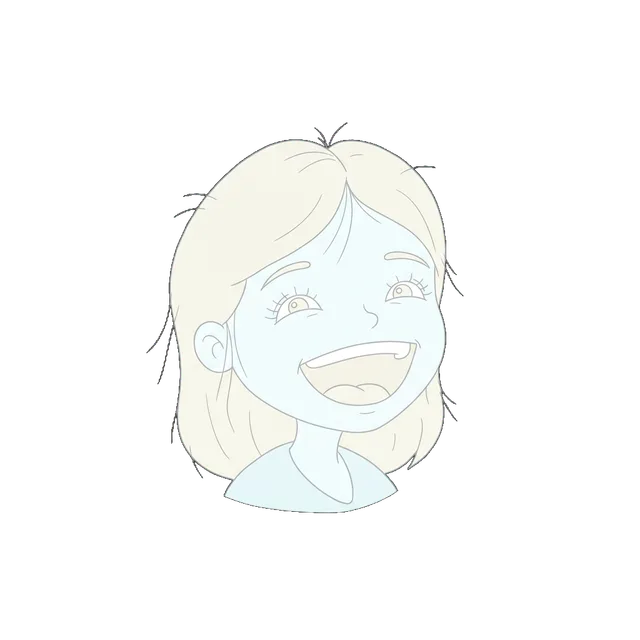
Nothing anchors the edge, so on a light background it dissolves into the chat entirely.
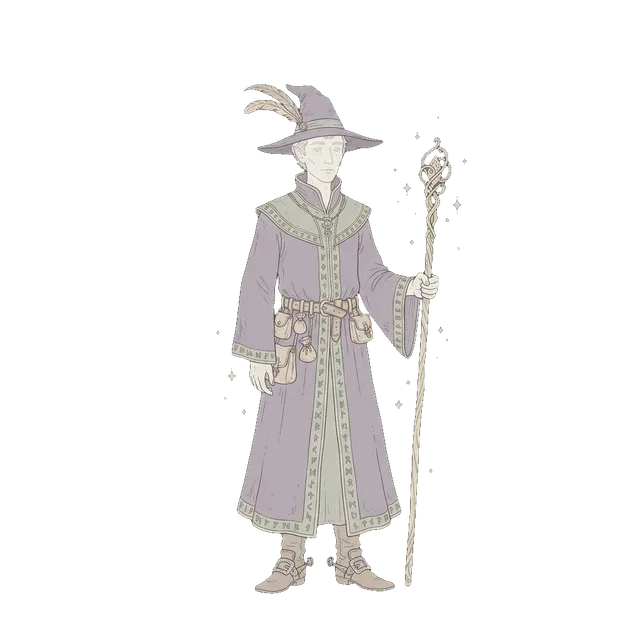
A whole character at 28px means the face is about four pixels tall. Crop to the head.
Check it at the size it'll live at
The third column is a working chat window showing your set at the real size, the whole time. It stays open, because an emote that turns to mush in chat looks perfectly fine when it's big.
| Tab | Shown at | Where that happens |
|---|---|---|
| Twitch | 28px | Inline in chat — nearly every impression you get |
| Discord | 22px | Inline in a normal message |
| Discord | 48px | A message that's nothing but emoji |
| Discord | 16px | A reaction pill — the smallest thing either platform does |
Flip between both tabs before you settle.Discord's reaction pills are the harshest test either platform applies, and they're where custom emoji get used most.
Can't tell what a tile is here? It won't read in a real chat either. Deleting it now costs a credit. Finding out after you've uploaded costs an emote slot.
Export the set
Two buttons. One tile, or all of them at every size either platform asks for.
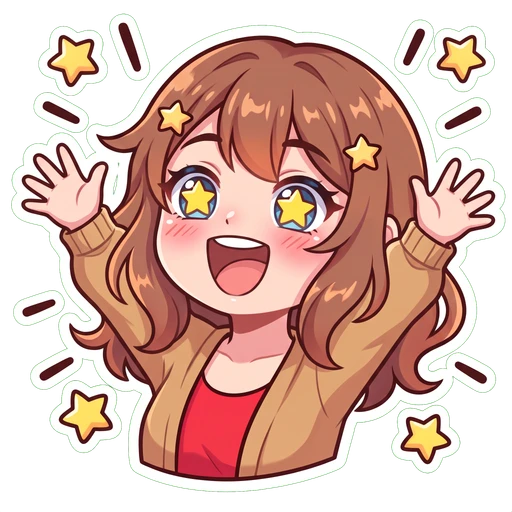
Every one of these comes out of a single download. You never resize anything by hand.
"png"on a tile downloads that one emote at full size. Handy after you've added a single take.
"download all" in the header of the set panel builds a zip:
- original/The biggest, cleanest copy of each one.
- twitch-112/The one you upload to Twitch.
- twitch-56/The in-between size some clients use.
- twitch-28/What chat actually shows.
- discord-128/The size Discord asks for.
One PNG per emote in every folder, named after the reaction. Repeat takes get a number on the end.
Every size is made right there on your own computer from the emote you already have. Exporting never costs a credit, so do it after every round of tidying if you like.
original/anyway — it's the one you'll want for a sticker, a panel graphic, or anything bigger later.Projects, and why you should duplicate
There's no save button. The first time you press generate, the set becomes a project, and it keeps itself up to date from then on.
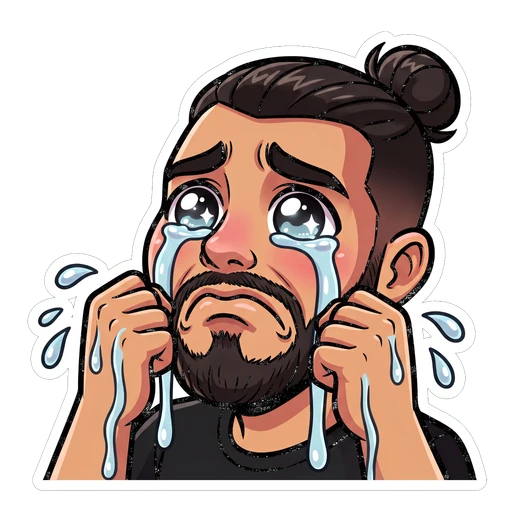
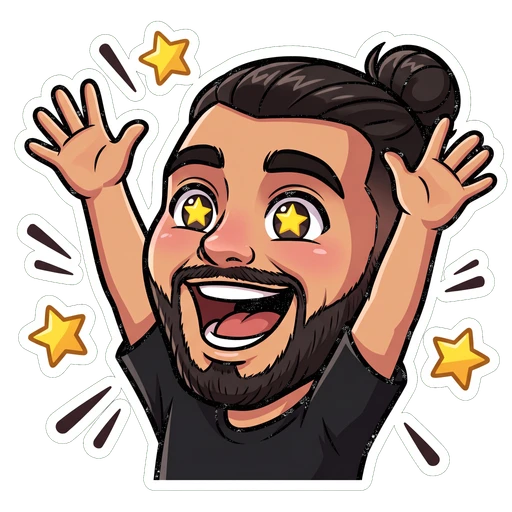
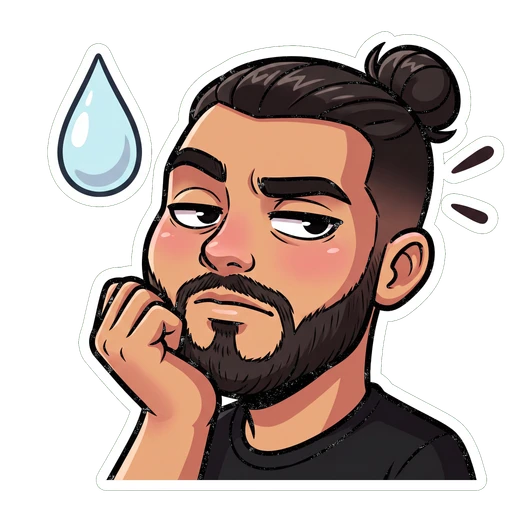

Kira set
Inked Toon · 2h ago
The one you like.
Kira set (copy)
Inked Toon · 2h ago
Where you try the risky idea.
Projects get named after the first few words of your brief and show up on the start screen with a status chip.
| Status | Means |
|---|---|
| draft | Created, nothing finished in it yet |
| generating | A run is in flight right now |
| ready | At least one emote landed |
| failed | The run produced nothing — credits were refunded |
Reopenand the brief, the style and every emote come back as you left them, ready for more reactions. The one thing that doesn't come back is any reference photo you attached.
"duplicate" is the underused one. It makes a deep copy — its own emotes, not shared ones — so you can take a set somewhere risky without touching the version you already like.
Copies name themselves "Kira set (copy)", then "(copy 2)". Use it before you rewrite a brief that's already working.
Questions new users ask
Keep going
The sizes, the file rules, and the design decisions that separate an emote people spam from one nobody can make out. Draw it, commission it or use a maker — this covers all three.
128×128, 256KB, and how many slots your server really has. How to make a set that still reads at 16 pixels — which is how small a reaction actually gets.
Drop in one image, get 112, 56 and 28px back with transparency intact. No account, no watermark.
112×112, 56×56, 28×28 — the three sizes Twitch asks for, where each one actually shows up, and the file rules that get uploads rejected.
Open the start screen.
Pick a look.
Looking around costs nothing and needs no account. Sign in when you're ready to make something — the brief you set up as a guest comes with you.